Let's Talk About Images
Images make your posts more interesting. We humans are very easily distracted. We need to be able to scan a article to decide if we really want to dig into the content of it. Images make your posts more attractive and more readable if used correctly. I want to talk about how to create graphics for your blog, where and how to format them and how to optimize them for search engines and visitors.
Making beautiful graphics
Making images for your blog posts doesn't have to be a chore. With the right tools, you can make graphics in minutes and draw more readers into your site. Here are a few tips to make your image stand out:
- Use a high quality photo, if you have to make the image larger to fit the size you want, it's too small.
- Stick to 1-2 fonts. Use the same 2-3 fonts across your entire site to keep it simple and clean.
- Make sure your font is easy to read. On pinterest the image will be smaller, can you read the font if the image is zoomed out?
- Center your image on your page and make sure it fills the full width of your post. This creates a uniform and clean look.
Stock photos v. photography
If you're good at photography, using your own images can be a huge advantage. Take photos and edit them in a similar format so that all your images have a similar feeling to them. This will help your brand be more recognizable.
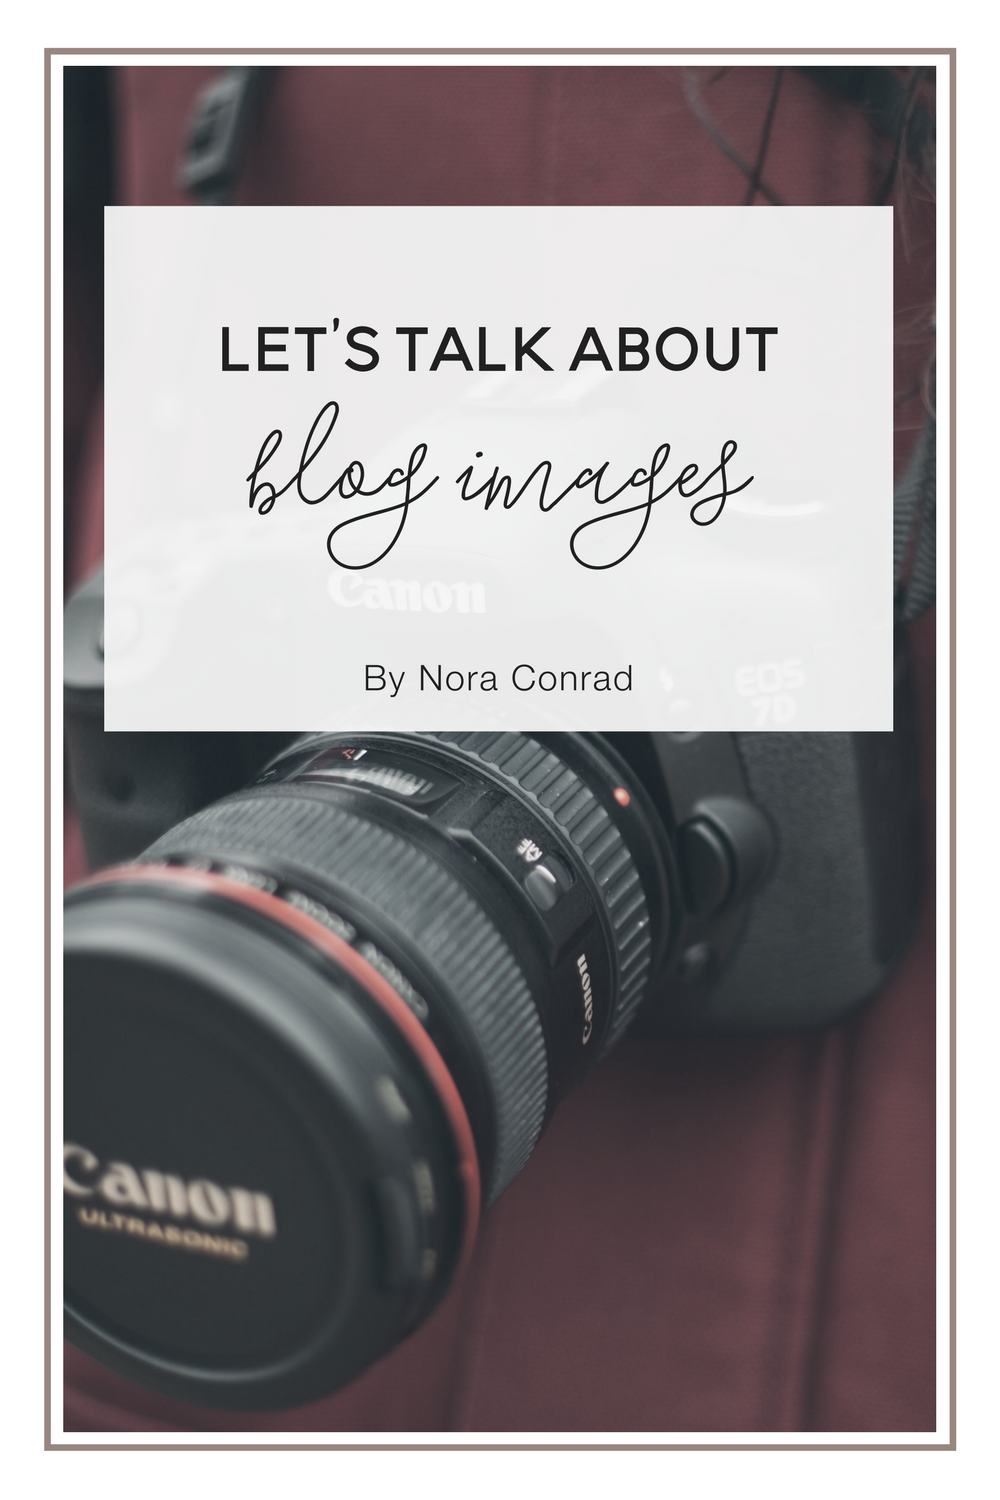
If you aren't great at photography or don't have a good camera, stock photos are a great option. There are a ton of free photos you can use to create beautiful (and large) graphics to grab the attention of your visitors. The image on this blog post is a stock photo from unsplash.com.
Some of the best free stock photos can be found at Unsplash, PicJumbo, DeathToTheStockPhoto, Pexels and StockSnap.
Pixlr
Now that you have some beautiful photos to use, it's time to add text, logos or other elements to them to match your post. Pixlr is one of my favorite tools for doing this. The setup is very similar to most photoshop programs but it's completely free to use.
You can easily edit the image and add text in their interface. There's more info on Pixlr toward the end of this post.
Photoshop
If you have Photoshop, this is hands-down the best tool to use on your photos. You have the most control over what you do and you can easily add texture, patterns and other elements to make the stock photos not-so-generic.
If you have photoshop but you're not sure how to use it, I HIGHLY recommend making a trial account at Lynda (that link gives you a free 10-day trial) and taking a couple courses on the program. Knowing how to use photoshop can completely change how you edit and create graphics.
Canva
Canva is a fantastic resource for creating graphics for your social media channels. The pre-set sizes for different sites makes it quick and painless to format the image you need. I made a short video to give you a mini-tour of what you can do.
[vimeo 128154453 w=400 h=300]
Formatting graphics for your post
You should have an image or graphic on every single blog post. Not only does it make your post pinnable, but it also makes it more visually appealing. It doesn't have to be hard to add a graphic. I create my images in a couple minutes but it adds branding and the ability to quickly share my posts.
One of the best ways to keep your images consistent and recognizable is to create an image template. This is a PNG formatted image that you use for every post image. It's easy to edit for each post but you'll be able to add your URL, logo or watermark to every image in seconds. The video below shows you how to make a template in Pixlr.
[vimeo 128154454 w=400 h=300]
Links mentioned: Pixlr, Full Video Tutorial on Pixlr, Blog post tutorial on Pixlr
Optimizing images for SEO & Pinterest
Having large images (best size for pinterest is 735 px wide by 1102 px tall), is one of the best ways to draw readers in from Pinterest. Besides high quality and large images, there are two very simple changes you can make to your photos to help search engines and pinterest users find your photos easier. Change the name and change the alternative text.
This is EXTREMELY easy to do. When you save your images (a JPEG file works best) save the file name as something descriptive. If you're saving a photo of balloons to promote a grand opening, name the file Grand-Opening-Announcement. This helps google and pinterest know what the image is.
When you upload your image to your website, there is *usually* an area to add a description of the image (called alternative text). In WordPress you can add this text on the upload or change it by editing the image itself. When someone Pins your image, Pinterest pulls that alternative text as the description for the pin! That means you should give a short description of the blog post the image is for.
Taking an extra minute to add a descriptive title and text will completely change how search engines classify your content (and make it more searchable)!
Have some great tips for beautiful photos? Let me know in the comments below!